Instructions for installing a sensor
In order to obtain reliable and accurate data on the soil moisture condition, the choice of location and the correct installation of the sensor are crucial. Below are brief instructions on how to properly install the sensor and check if it's working properly.
1. Choosing a suitable location
First, determine a suitable location on the field that will be irrigated. The sensor must not be placed in a basin, at the edge of the irrigation area or at the edge of a greenhouse. There can be more or less water there than in other areas, the measurements won't be representative, and the irrigation advice won't be accurate.
In the case of drip irrigation, the sensor must be installed between the drippers (never right under a dripper) in the middle of the bed (never on the path). When using sprinkler irrigation, the sensor must be in the middle of the irrigated area.
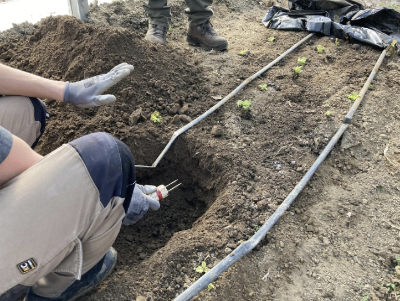
2. Sensor installation
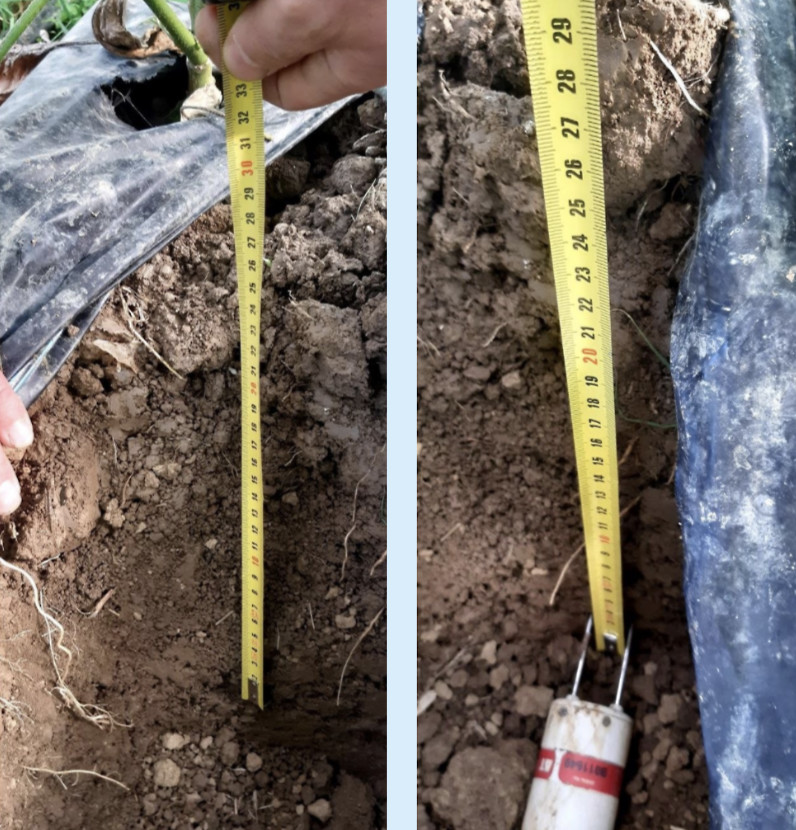
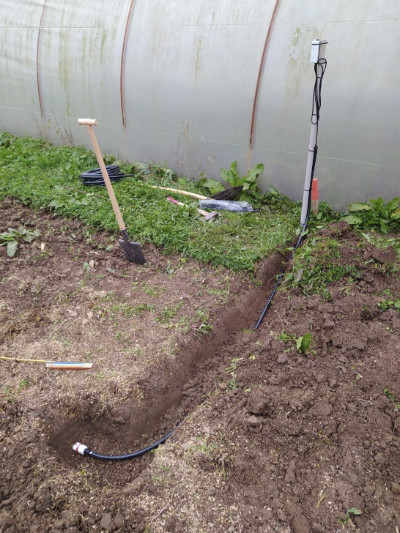
Dig a hole for the installation of the sensor that is 25 - 30 cm wide and deep. The sensor is usually installed at a depth of 10-15 cm. If you use mulch, install it deeper, around 20-25 cm. Insert the sensor carefully and gently horizontally into the intact floor profile. The sensor is VERY sensitive! If you think you hit a rock, carefully pull out the sensor and try again in a different location.
In the case of skeletal soil (rocks, gravel), we recommend using a slightly thinner tool than the measuring fork (e.g. longer, thinner wire). Make sure that there is no skeletal soil at the insertion site that could damage the sensor.
Installation of the sensor
3. Transmitter placement
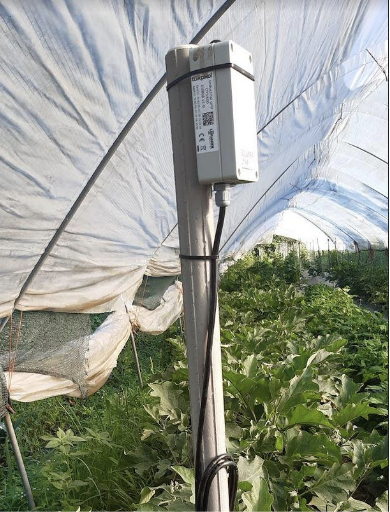
Tie the transmitter to a stake at the edge of the field, as it does not interfere with soil cultivation.
In greenhouses the transmitter may be hanged from the greenhouse construciton.
4. Checking sensor data
Before filling the hole, check that the soil moisture data is correct. In addition, you will also check whether the connection from the transmitter to the receiving router and on to the server is working.
Option 1: Independent verification through the application
The meter measures data every hour. Log into the system and check the measured values via the application.
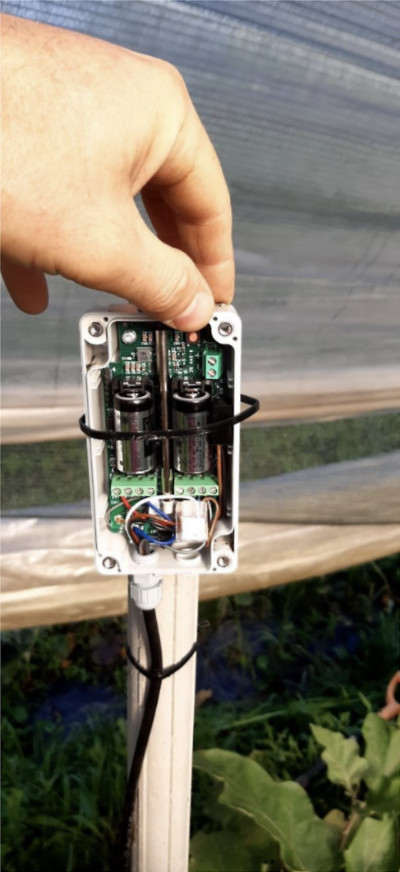
Option 2: Checking via a contact person
Unscrew the screws on the transmitter box and press the red button on the top right of the transmitter. The transmitter reads the data from the meter and immediately sends it to the server. Call the project's contact, who can immediately check the values in the system.
If the data is not within expectations based on soil conditions (the values are significantly too high or too low), pull out the meter and insert it in a new place. A stone or root can get lodged between the sensor fork which prevents accurate measurements.
5. Completing the installation
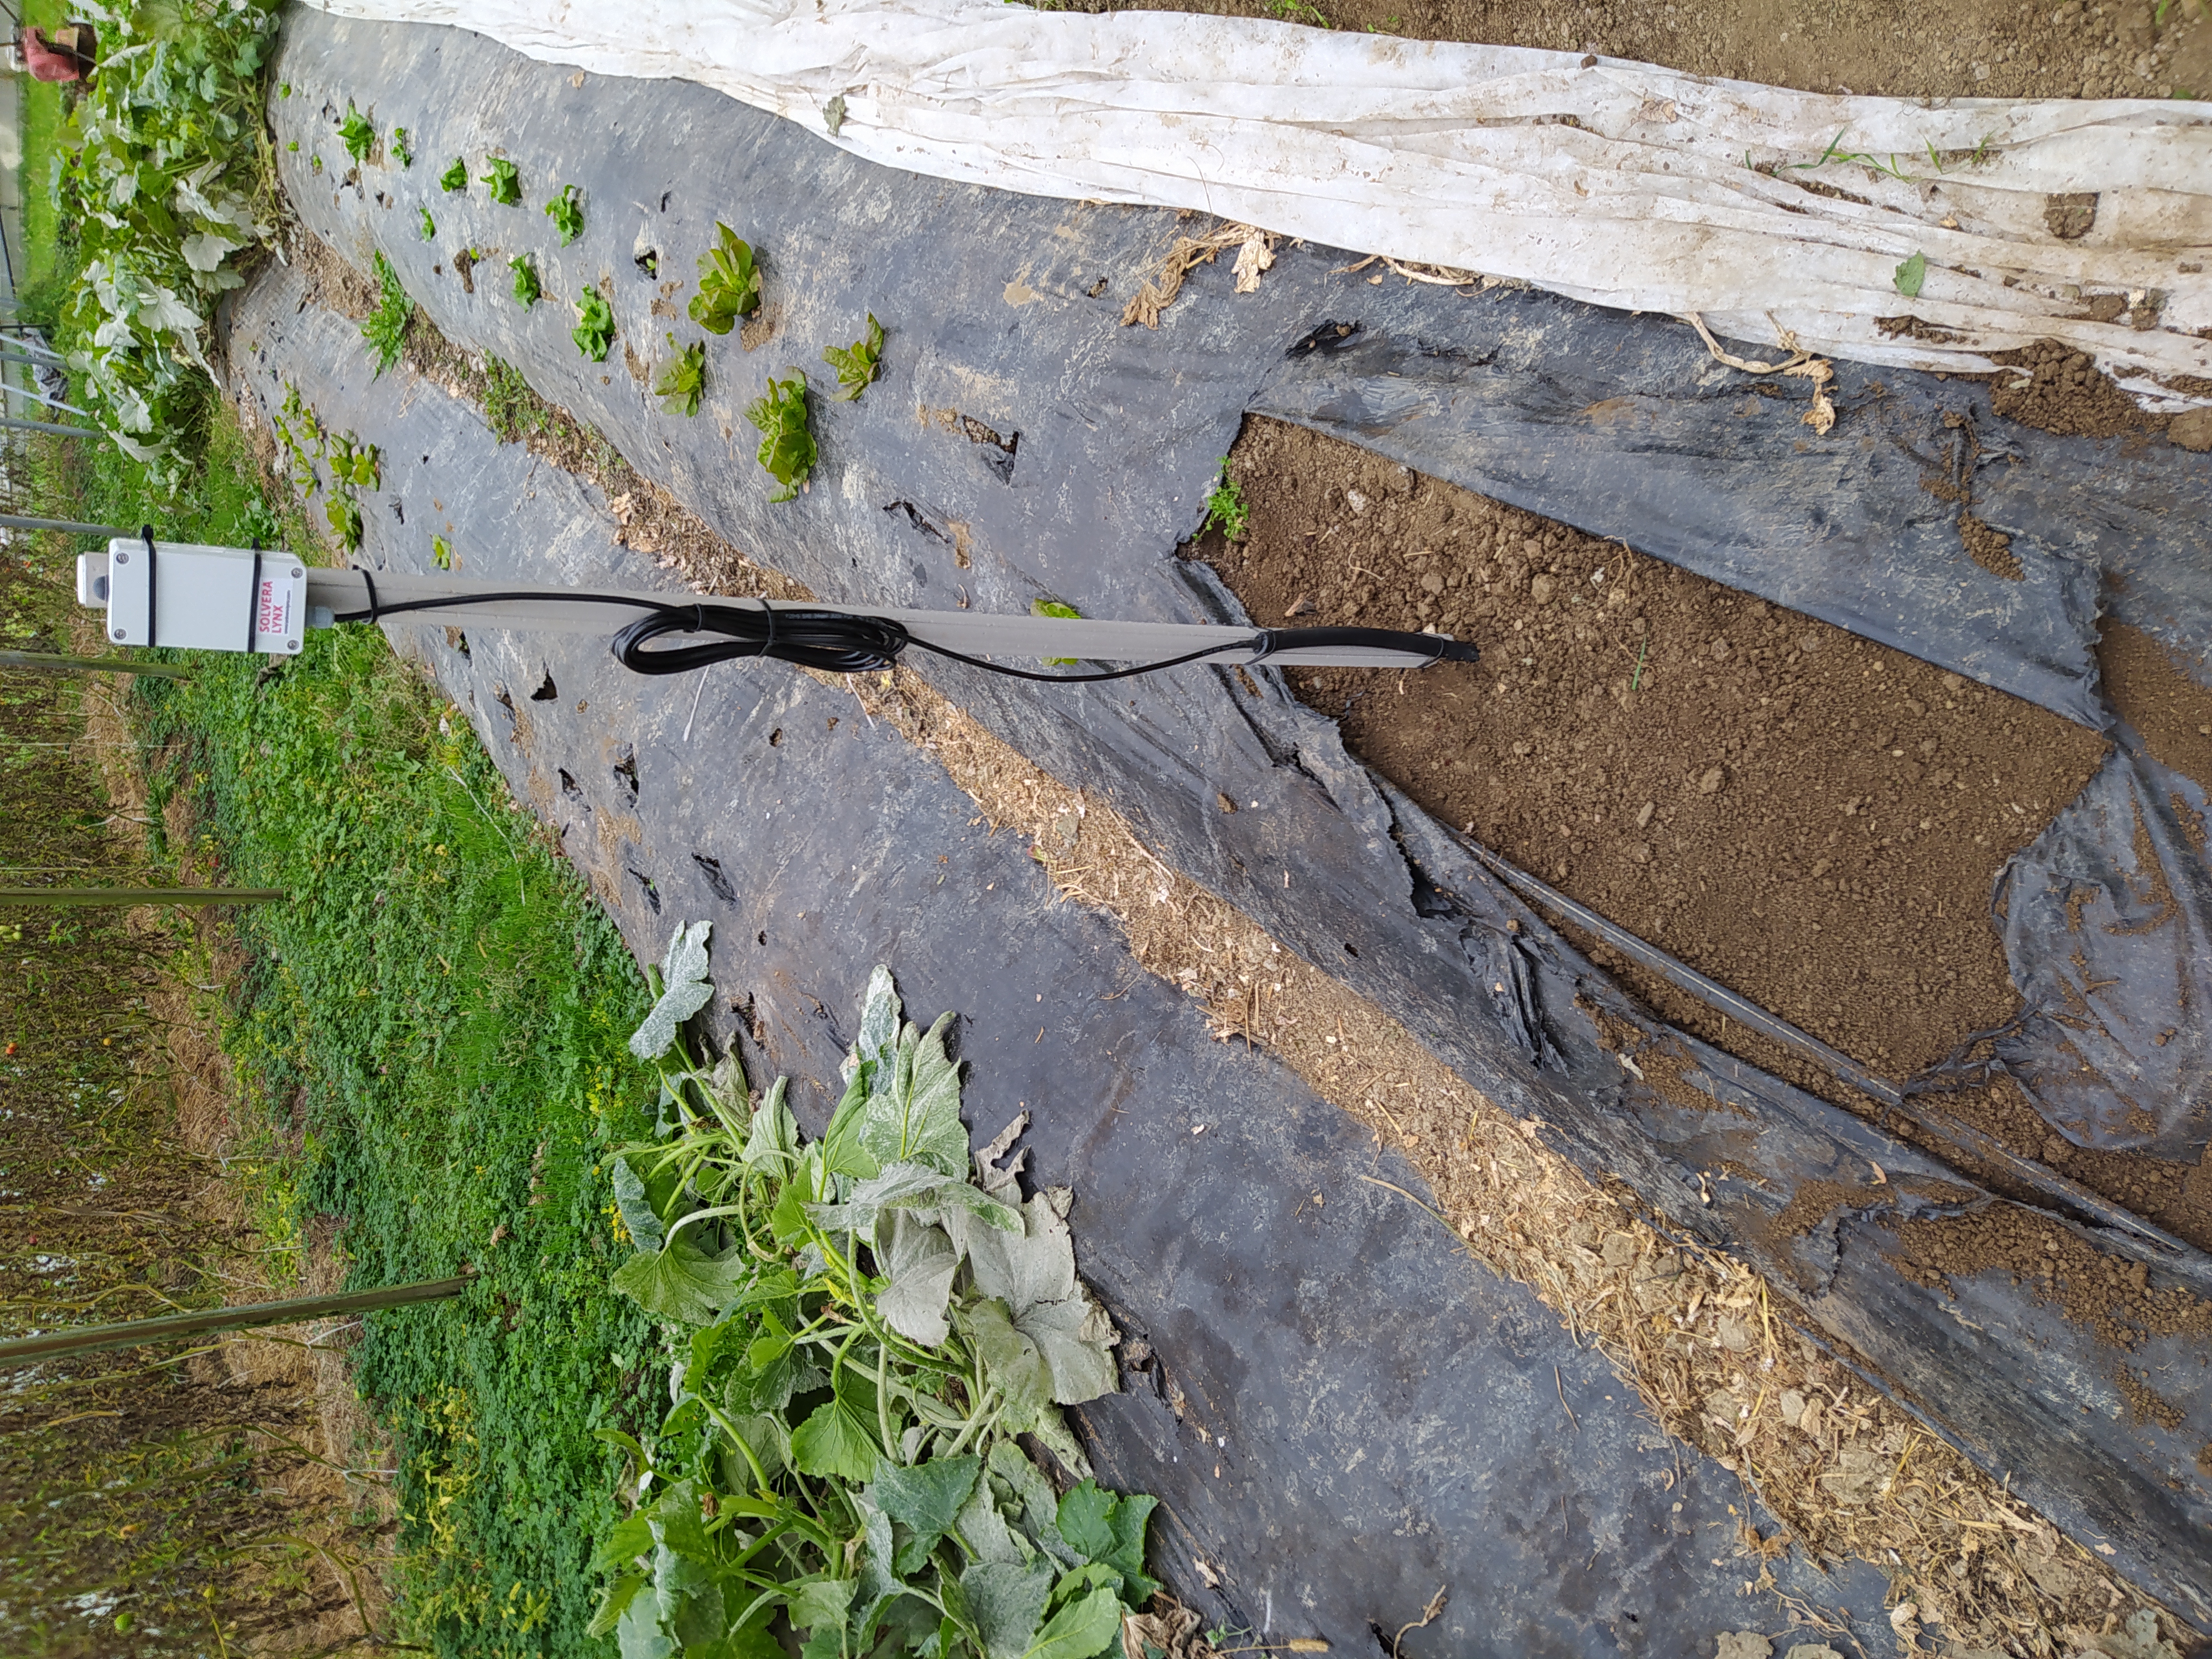
Measure and write down the distance from the sensor to the post where the transmitter is mounted, or to other points, which will allow you to find and dig out the sensor more easily if necessary.
We recommend using a metal or at least alkathene cable conduit between the sensor and the transmitter to prevent damage to the cable when cultivating the soil.
If the sensor is used outdoors, it is necessary to protect the part of the cable that is accessible to animals with aluminum tape or other suitable protection against game.
Put the soil into the hole, under the sensor and carefully press it down to approximately the natural density of the soil (the sensor must not move). Fill up the hole.
Finally, water the location of the sensor intensely (10-20 L of water). Observe if the level of the soil above the sensor lowers. If this happens, rainwater will flow into the excavation site, the water content and measurements will be too high compared to the surrounding soil which will be drier. In case of soil subsidence, add an additional amount of soil to the excavation site.